Makeup is an essential part of every female daily routine but over time it has grown to be so much more. It is an art form, it is a saving grace for those that have to be in front of the camera, for those having troubled skin and so much more.
Makeup has moved forward over time, like many other things, and now it has become a true art form. It is studied and practised for years and those that master it are probably the most talented makeup artists you have ever seen. They can make anyone look like, well, not themselves, they can cover any defect, achieve any desired look, effect, tone and whatnot.
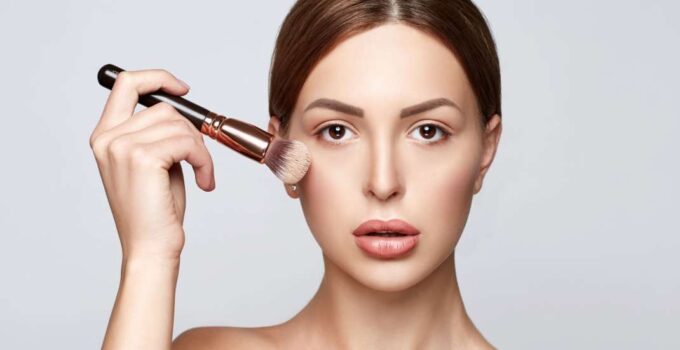
There is a trend that has recently taken off and it is a very fine line countered face and this one is really hard to achieve if you do not know what you are doing. Having fine facial lines is not something all of us have been blessed which is why makeup artists are raking up the cash doing these and showcasing just how to do it yourself. As you can see we also decided to make you a short tutorial article on how to do sculpted face makeup and how to blend your contours correctly and like a pro.
If you need more pointers, advice or if you need to stock on some good quality makeup at reasonable prices then hit up natashadenona and see what they got for you!
Now for the meat and potatoes of the article, enjoy!
1. Concealer
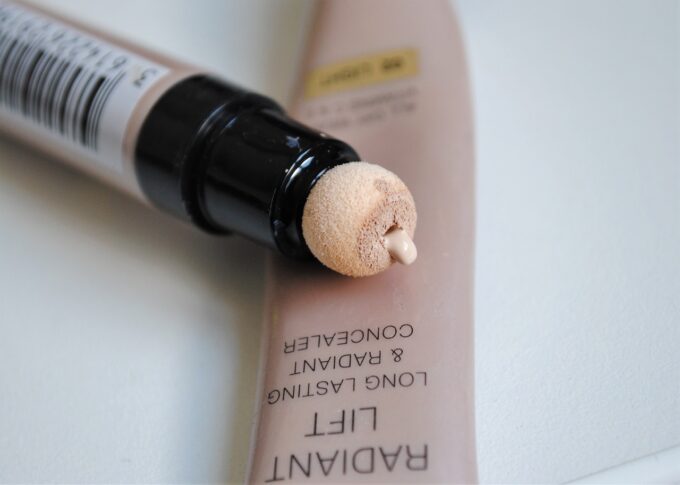
Source: jolieblog.rs
When beginning the highlighting process, the ideal start is with your concealer. The most important thing here is to use one that is about 2-3 shades lighter than your foundation shade. Take this and create a little bit of a triangle beneath your eyes then go in between the eyes, between the brows and move upwards to the forehead in a little palm tree motion, then down the nose in the straightest line possible and finally take it down the Cupids bow toward the lips and finish that line on the chin area. The last thing you don’t want to forget is underneath the cheekbones if you want to get that slimmed-down effect any sculpted face has and it will bring out all of these spots we treated with concealer.
2. Contour
The next step is some contour that you need to add to the base, but you need to take care with contour. It will be the step in this entire routine that is going to slim down any features on your face, kind of bring them back and add some shadows and dimensions to the entire look. Take your contour and what you do is apply it underneath the cheekbones if you want that heavily defined look. After that start taking that product up to the temples, especially if you have a round face shape because you will need to contour the sides of your face if you want to elongate it. Naturally, elongated face shapes will need to go lighter on the sides of the face but a lot heavier on the forehead area. Follow the concealer line and apply the contour on both sides of your nose.
3. Blend
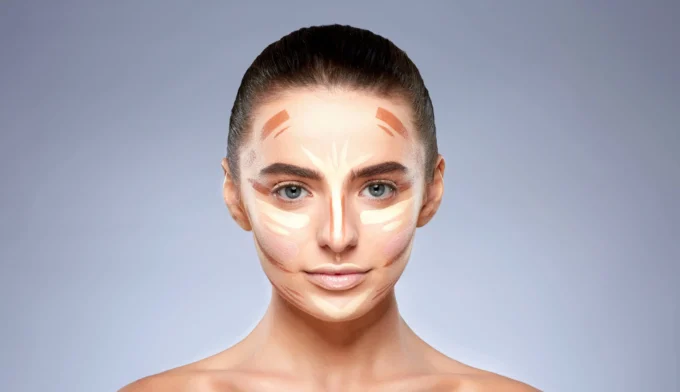
Source: 100percentpure.com
This is the part where you have a lot of drawings on your face that need to start looking like something a professional would make. Don’t worry we will walk you through it. Start blending everything and a good rule of thumb is to start with areas where you have your concealer because those are areas that you want highlighting and those are the areas you want to keep on the lighter side. This approach will allow you not to mix contour shade with the concealer too much. when you get to the contour areas use pressing motions because you don’t want to wipe any of the hard work you have done so far. A little tip for those of you that at any point of the blending process feel like you added too much contour you can take a little bit of foundation and put it on to your Beauty Blender or Beauty sponge and blend it in between the contour and highlighted areas to achieve that seamless finish.
4. The base
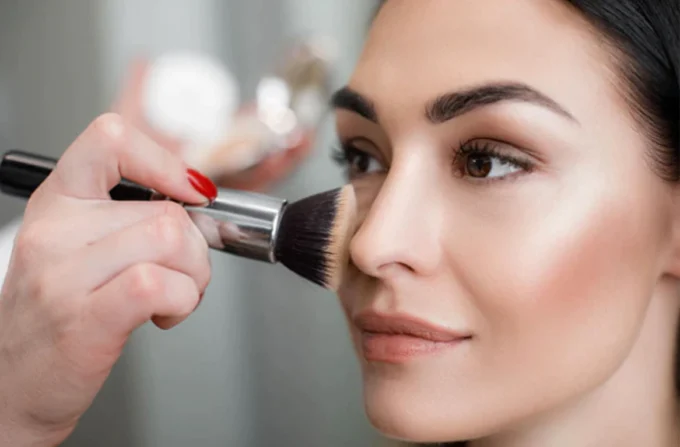
Source: bebeautiful.in
After you have finished these previous steps you want to set down the base with either translucent powder or derma blend, very light pressed powder or pretty much whatever you want. Whatever you pick make sure to have a very light and fluffy brush which you will use to very lightly tap the base on your face. Use light pressing motions instead of swiping or swirling motions because you want to continue to press the product in the face and avoid moving it around and destroying those cream products underneath.
5. Further enhancements
If you want to further highlight certain areas like the under the eye you can take your shade and light pallets and use light-coloured shades because they can add to that brightening effect and that has an undertone that will cancel out any discolourations you might have under their. same brush like before and again press that into the area you want to tackle.
6. Liquid highlighter

Source: stylecaster.com
Now we know that most of you will yell at us for writing about this now and that it would blend better and more seamless before your powder but this is something you can either choose to put on or leave out. This will be highly individual and regarding your skin tone, and what you trying to achieve or trying to conceal. If you left it out in total after step 5 you wouldn’t have that feeling of needing something, and if you need it you can pot it on right here, or remember to put it before powdering for the best possible effect. The best effect will be achieved if you use it on top of your nose and top of both your cheekbones. Tap it in with your sponge do not smear it at all costs.
After all this, you have to hit the finish and for that, you will need your pallet once again and choose one tone or blend two you think your skin tone goes best with and press it into your face below your cheekbones and you are done. Depending on what type and brand of makeup you went with you may need, or not, some highlighter at the end and enhance and make certain areas pop with a gold highlighter or bright ones.


