The best way to preserve your cherished memories is with a photo book. Every time you open this book, you are going to relive your favorite moments and they are going to put a smile on your face. No matter if you’re looking to create a photo book to celebrate a milestone event, showcase your photography skills, or document a family vacation, there are several things you need to pay attention to. In this article, we are going to help you create your perfect photo book, and we will tell you what are the most important things you need to pay attention to if you want this project to be successful.
1. Start by selecting your favorite images

Source: pexels.com
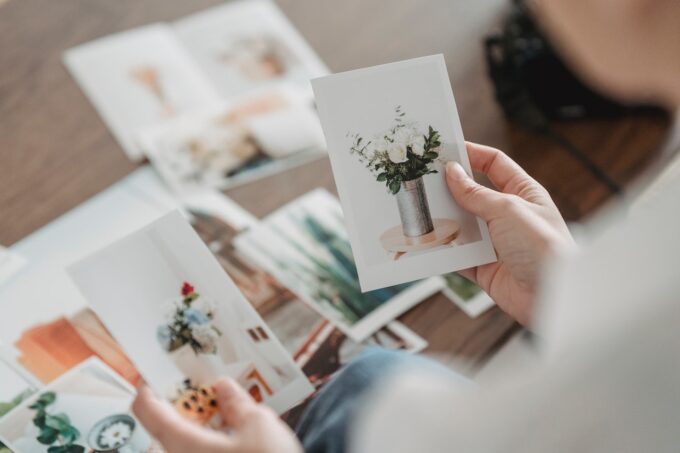
The first thing you want to do if you want to translate your captured moments to cherish memories is to choose the photos. This is going to be a difficult task especially if you have a large collection of photographs to sort through. The easiest way to do this is by selecting your favorite photos and then narrowing down the selection based on the purpose or the theme of your book.
Keep in mind that you have to consider the quality as well as the resolution of your images to ensure that they are going to look amazing once you print them. Steer away from implementing several of the same images into your collection, and try to avoid images that are low resolution or ones that don’t look their best.
If you are not sure what you should include, or if you are not sure how you can enhance the look of specific images, then you can use websites like mixbook.com and collaborate with professionals to create the best photo book you can.
2. Organize the photographs
Once you have an idea of what you want to implement in your photo book, the next part is organizing them. You can group the images depending on events, themes, or even dates. Some people choose to organize the photographs depending on the chronological order, or you can opt for a narrative order if you want to tell a story with your photo book.
There is no exact rule as to what you should or should not do when it comes to grouping and organizing the images, so as long as it makes sense for you and everyone else that goes through that book, it’s all good.
3. Find a good layout
The next part of the process is probably the most important one. You need to choose the layout of the book and know that it will greatly impact the feel as well as the impact it has on others. It is suggested to go with a simple and clear layout with only one or two images per page. If you want, you can also explore a more complex option where you will put several images as well as text.
If you are not sure what you should do and if you are not sure how you should organize the whole thing, you can opt for an online service that has already predesigned temples. This way, you can find and customize something that will fit your preferences and style. Know that with the services available online, you will save yourself a lot of time and trouble, and it is going to be much easier for you to get the desired result.
4. Add text, quotes, and captions
Source: pexels.com
Another extremely interesting and fun part of the project is adding captions and text. This part is going to help bring your photographs together and provide context for everyone who looks at the photo book. You can include locations, dates, names, and personal stories. Add any type of quote or lines you want, that is going to help you give more context to the images that you have added.
Keep in mind that you should opt for a font and colors that are easy to read and that are going to complement your images. Choose something that is going to be easy to read, and steer away from complex fonts that add more confusion than explanation.
Once again, there is no exact rule as to what you should or should not do here. You can add as many or as few lines as you want, and you are free to decide if you want to have text under every image, or if you want to add a short paragraph telling the story of one single or several pages.
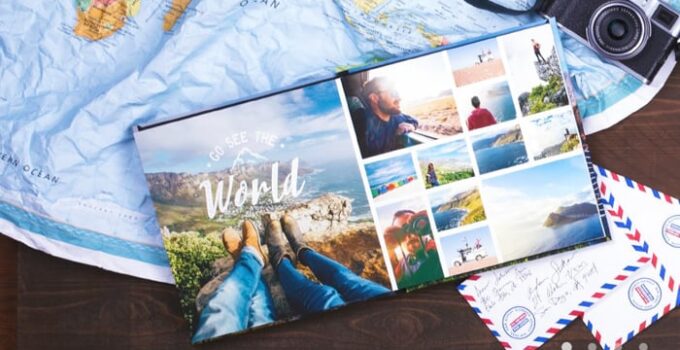
5. Find a good cover
Once you have decided on the layout, theme, colors, images, and other important details, the next part is choosing the cover. The cover is going to be the very first thing everyone will see, so it is important to make it memorable and eye-catching. This means that here you can include your favorite photo as the cover image, and you can decide if you want to add any type of title, subtitles, any other text, or no text at all.
When it comes to the material, make sure that you opt for something that is going to be durable and that is going to stand the test of time. Some people opt for hardcover, while others decide on textured material. You can also go with leather, cardboard, or anything else that your heart desires.
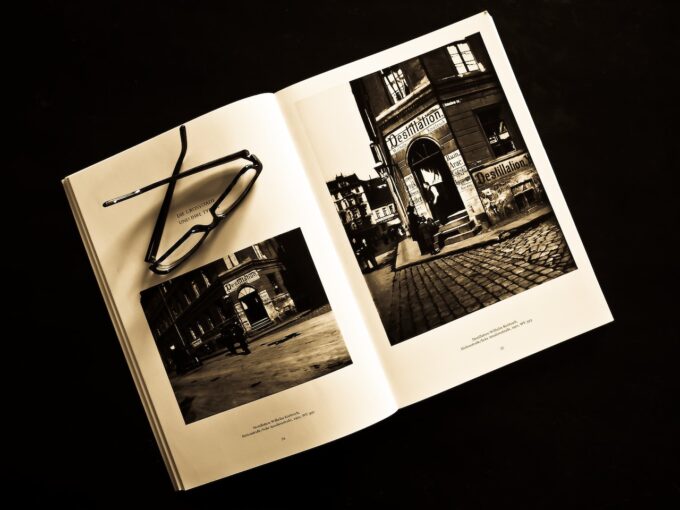
6. Go with high-quality materials and a good printing method
Source: pexels.com
The next part is printing your photo books. There are many different options to choose from, and you can start by going online and seeing what photo book services offer. They usually are a convenient and affordable option, and you can get a test print and see how it looks.
If you are interested in investing a bit more, then you can go with a professional printing service. They are going to provide higher-quality printing and they are going to give you good binding options. Make sure that you go with high-quality and good materials so that the book can stand the test of time. If you don’t want to do any of these things, then you can create a photo book at home. For this part, you would need to use a high-quality photo printer and you need to opt for a binding method that is going to allow you to create a good finished product without it looking like it’s a school art project.
Don’t forget to edit your images before printing them, adjust the colors, and make sure that there are no spelling or grammar mistakes in your text, and that everything looks well put together and cohesive. Because of that, it is always good to have a test book printed before you go with the real thing. Take your time, explore different options, check out different services, and go with what you think is going to be the best for your project.


