
It is a common misconception among many people that we can get wine only from grapes. On the contrary, we can use many other fruits as well. the interesting fact is that some of the first wines from ancient times were made of honey and various fruits rather than grapes. When it comes to corn wine, its origins from the American continent, where this plant is widely used, especially in form of syrup that can be found in many products.
There are many benefits of this type of wine, like the unique taste and simple recipe. It is known as Country Wine in the United States and should read more about it. As we already mentioned, the recipe is quite simple and even a beginner can learn how to prepare it without many struggles. Here are the main steps in the process of making corn wine.
Buy Necessary Equipment and Ingredients
Before you start with the process, you have to be sure that you have all of the necessary tools and ingredients needed for the recipe. First of all, you should make a list and buy the essentials like sugar, corn, raisins, orange juice, honey, and sweet wine yeast. When it comes to this yeast, we have noticed that many people make a mistake by thinking that you can use any yeast, but only wine yeast can lead to proper fermentation. Besides the ingredients, you will need equipment like a vessel, funnel, strainer, and tube.
Check twice to be sure that you have got everything needed for the recipe since making only a small mistake could lead to bad wine. If you are not sure how to use the tool, there are many online video tutorials. Maybe the best solution is to watch them while you are preparing the recipe. That way, you will avoid mistakes. After you are sure that you have everything in place, you can start with these simple steps.
Step 1
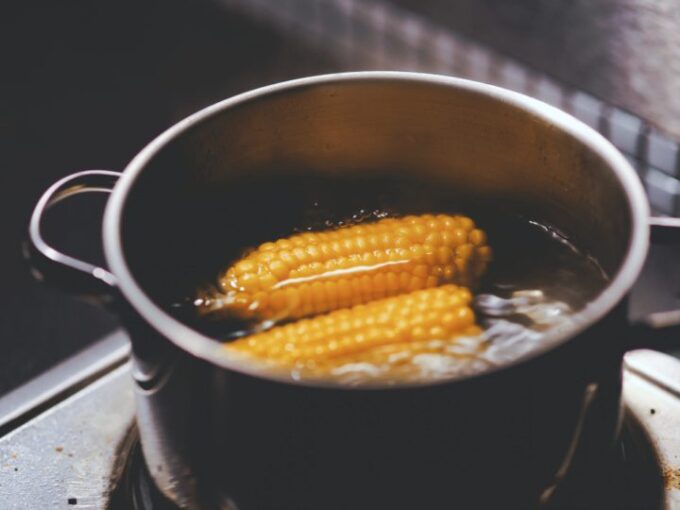
Clean the corns and boil them for around 15 minutes. Be sure that the amount of water will cover only the top of the corn. After the corns are boiled, wait until the water is cold, and remove them. You will need that water as well. It will be used as a base for the wine.
Step 2
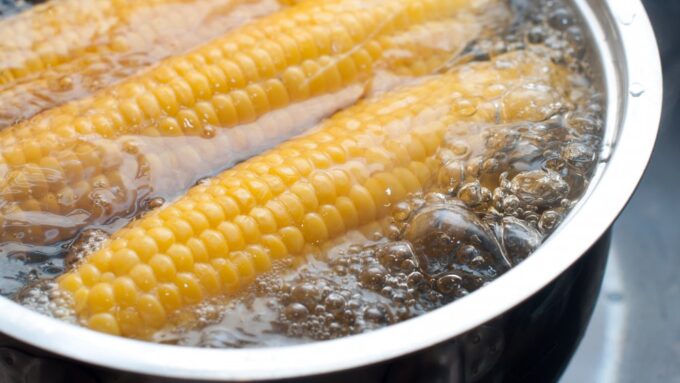
Source: mashed.com
Get the corn water and place it into a separate container and combine it with sugar. You will have to mix the liquid until the sugar is completely dissolved. After that, you will have to add few pieces of boiled corn into the water, and cover it with a cheesecloth or several pieces of tight fabric, and leave this mixture for at least a whole day.
Step 3
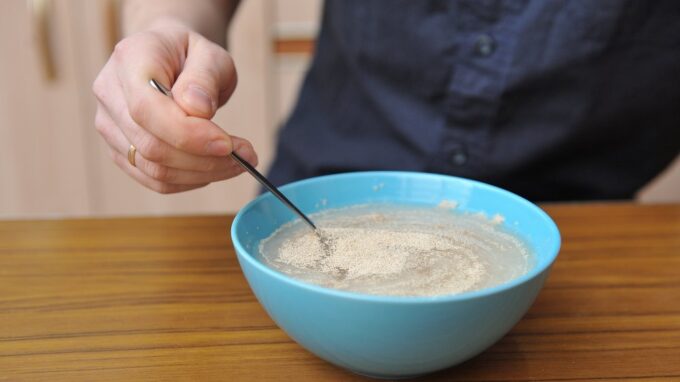
You will use a glass container to prepare the yeast in it. The best way is to combine it with a half cup of water and juice. When you finish, the principle is the same as for corn water, and it will have to wait for at least 24 hours.
Step 4
Source: pinterest.com
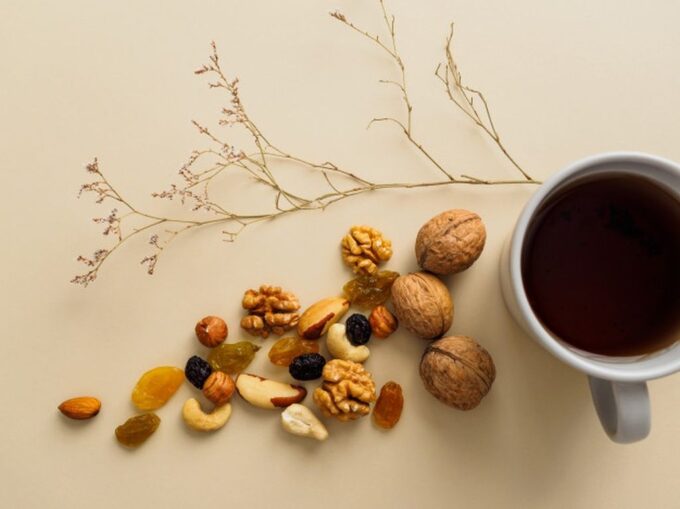
After one whole day, you should get the pieces of corn outside of the water, and strain the liquid into a container. After that, you will need to add the yeast liquid into it, along with raisins and tea. Pay attention that the jug is filled properly, at least two inches below the top.
When you finish with this part of the process, you will have to add an airlock. If you are not sure how to make and install one, there are many tutorials online for that as well. In the end, place honey or sugar over the liquid to improve the fermentation.
Step 5

Source: agriculture.com.ph
During the process of fermentation, you will notice deposits on the top of the liquid. You will have to remove that once in a couple of months. Moreover, you can improve the taste and sweetness by adding more sugar each time after you remove the deposits of the top. Also, this is an important part of the process since it will help you to determine when the fermentation is over. When you notice that the liquid is not reacting to additional sugar anymore, it is completed.
Step 6
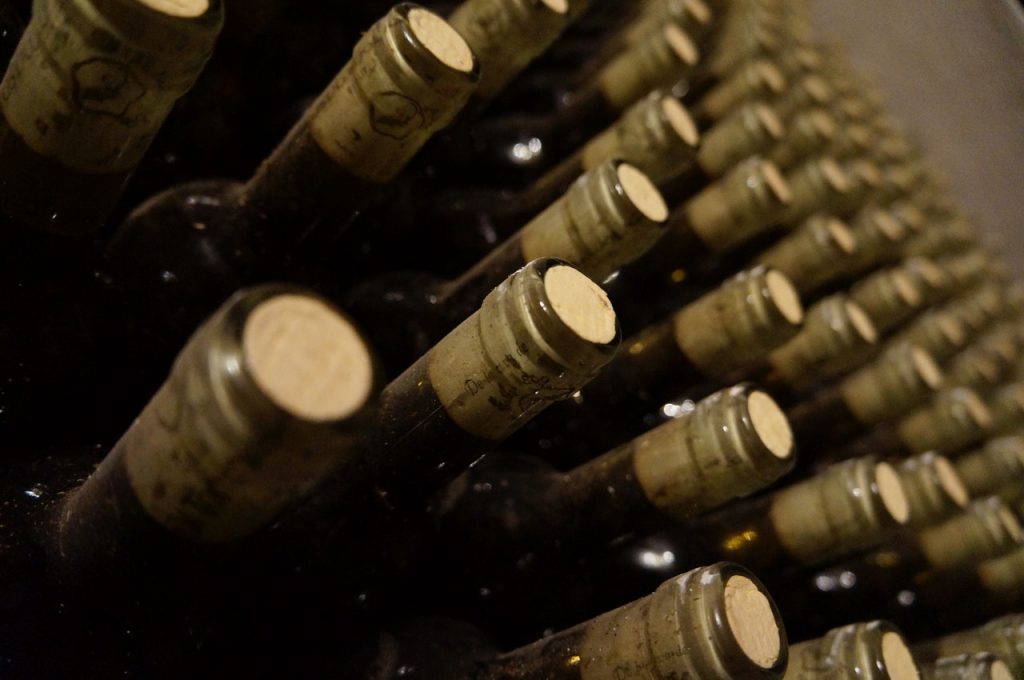
Source: pexels.com
This is the last part of the process, and it is mostly related to patience. Be sure to store the wine in a dark area and prevent the air from getting inside of the liquid. Many people are making a mistake by thinking that it can be good for drinking after a short time. In some cases, it might be suitable after only a couple of months, but the best option is to wait more than a year to be sure that it reached good quality.
The Bottom Line
The main advantage of this recipe is that you can make tasty and quality alcoholic beverages at your home with only a small investment, much cheaper than many other types of wine. The crucial part is to focus on each of these steps, use the right amount of ingredients, and follow the instruction when it comes to adding the liquids to cans, removing them into bottles, and more. Another great thing is that you can learn how to create a more unique taste over time, by adding additional ingredients or changing some amounts in the recipe.
However, it is not for beginners to step back from the common model. Preparation of wine requires knowledge and skills, and you should know that it can seem quite difficult in the beginning, especially if you don’t understand the basics of fermentation and proper storage. In that matter be patient and prepared to try this for several times until you learn to make it in the right way.
You will learn how to combine some other ingredients over time, which can help you to improve the taste even more. It can be a great hobby where you can install a cellar in your basement and surprise friends and family with homemade wine with high quality and unique taste.


