Summer is slowly approaching, which is why you might have started thinking about preparing your swimming pool for endless hours of fun! However, if you’ve noticed some stains or cracks when you were cleaning it, you should know that it might be time to get it completely resurfaced.
But, if you never had to go through this process before, you might be wondering – how does the entire process look like? Fortunately for all homeowners that are wondering the same thing, the article below will help you understand the resurfacing process. So, let’s take a closer looks at the steps:
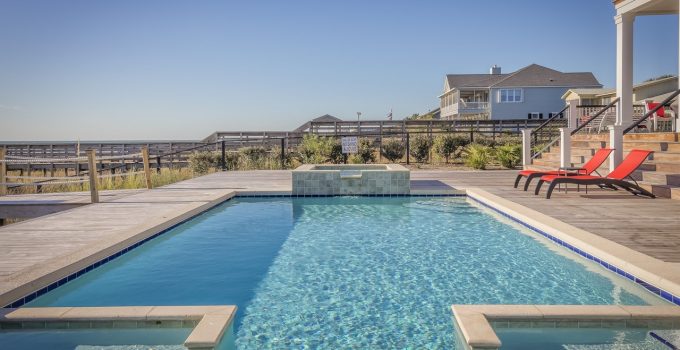
Step 01: Preparing The Area Around The Pool
Source: casalgrandepadana.com
Before the crew arrives at your home, you should ensure that you prepare the area surrounding your swimming pool. This means that you should remove all the furniture you have, place your flowerpots in a different area, and remove any other thing that might get damaged during the process. Keep in mind, if you have parasols, you might want to leave them around since it can provide some shade to the people that’ll be working on the resurfacing process.
Step 02: The Crew Will Drain The Water
Once the crew gets to your property, they’ll begin by draining the water. In most cases, they’ll utilize a submersible pump that’ll quickly remove the liquid. Nonetheless, depending on the pump they use and the size of your pool, this might take several hours to complete. Because they’ll be applying a new layer to the surface, they’ll need to drain every single drop of water in order to properly complete the resurfacing.
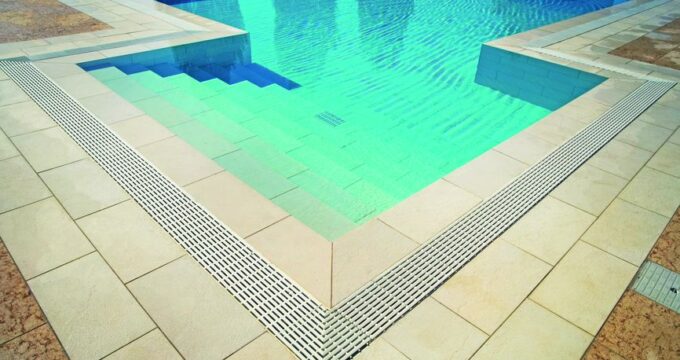
Step 03: They’ll Remove The Worn Out Surfaces
Source: woodfieldoutdoors.com
When they’ve removed all the water, they’ll move on removing all the worn-out surfaces by sandblasting them. Since they’ll be removing the entire surface of your old pool, they’ll use different tools for preparing it, which is why you should expect to hear a lot of noise. You should know that it’s better if you hire several extra workers for the job, mostly because you’ll be able to complete some of the tasks faster.
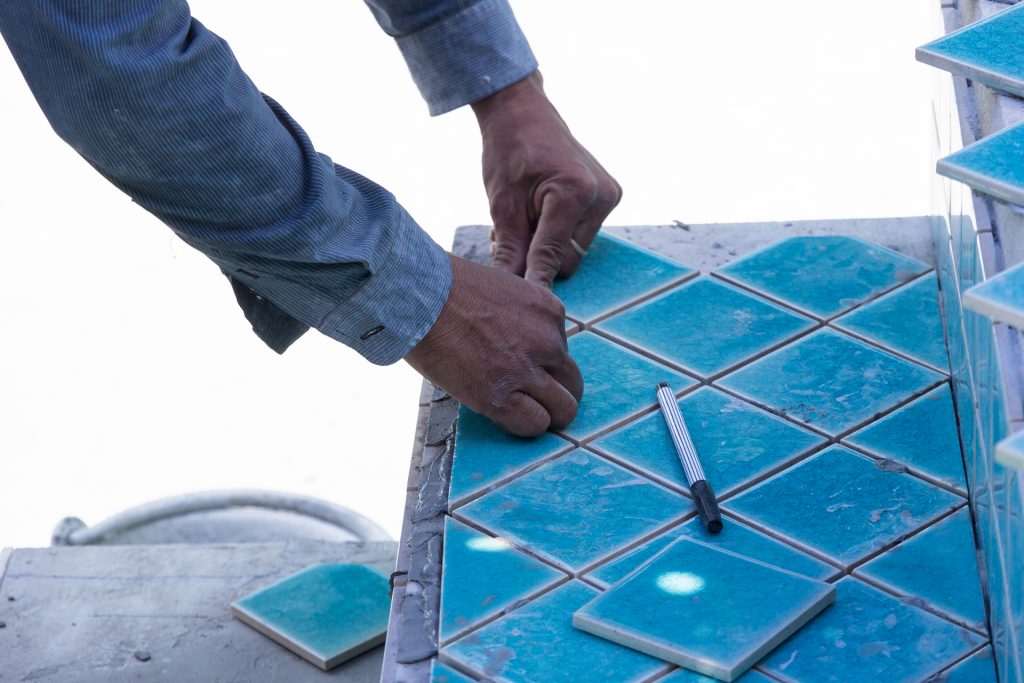
Step 04: Adding The Tiles + Completing Masonry Tasks
Once they’re done with the aforementioned tasks, they’ll start adding new tiles, as well as any other decorative feature that you might want to have. For this, you must ensure that you hire an experienced and skilled mason that’ll ensure that everything is properly installed. During this process, you should speak with the mason in order to determine which finish is the most suitable option for you and when you make a final decision, they’ll apply the finish.
Step 05: Checking The Seal And Plumbing Systems

Source: pinterest.com
This particular task will involve fixating all the plumbing lines and it’ll also involve the crew completely washing your pool in order to determine whether or not it’s watertight. After all, they must ensure that there aren’t any leaks, something that can cause some really expensive repairs. Additionally, they’ll add a suitable sealant that’ll maintain the water to a certain level, hence, you’ll be able to enjoy swimming.
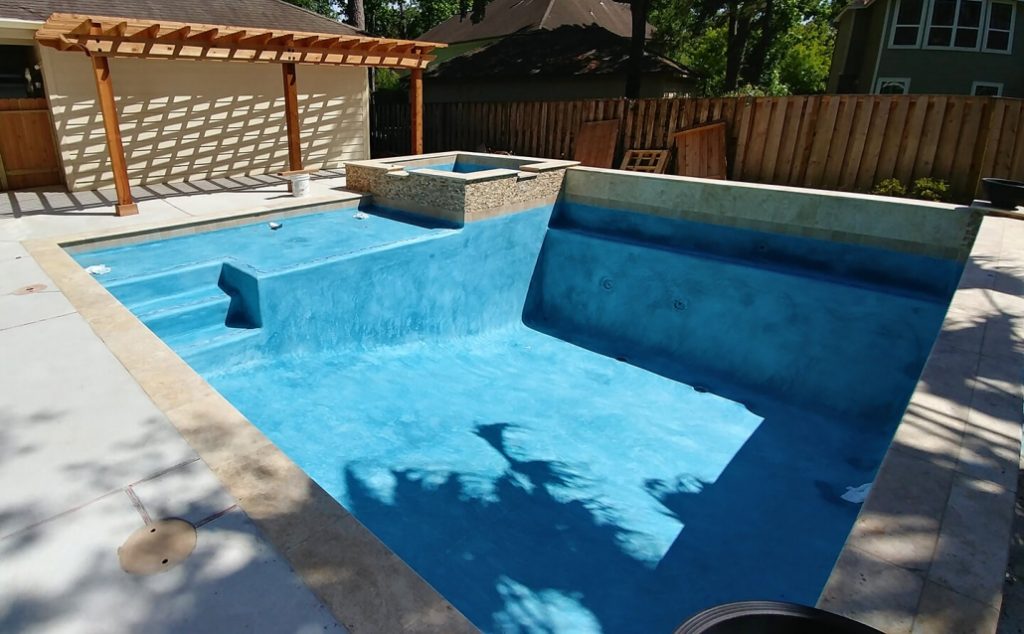
Step 06: Applying The Finish + Additional Materials
According to the experts poolresurfacingscottsdale.com, one of the most important things that you must take away from this article is the fact that you must carefully choose the finish for your pool. To choose correctly, you can talk with a contractor who will be able to tell you all the benefits and drawbacks of certain finishes. By ensuring that you choose right, you’ll also be ensuring that your swimming experience is enjoyable.
Step 07: Going Through The Acid Wash Process
Source: yourpoolservice.net
Depending on the finish you opted for, some of them might require acid wash treatment. For example, if you opted for materials such as pebbles or quartz, you’ll need to have them treated with acid. Of course, not all substances can be treated with it, mostly because they’ll get completely damaged, which is exactly why it’s important for you to choose the right one. Additionally, you should know that it’s a daunting task, which is why you should leave it to the professionals.
Step 08: Cleaning The Surfaces + Refilling it
Once the finishes are installed and when they’re acid washed – if needed – the crew will move on to cleaning all of the surfaces. The cleaning will involve removing dirt and debris that might have fallen into the empty hole, and once they’re done, they’ll use suitable cleaning products for making your surfaces shiny. They won’t refill your pool immediately, instead, they’ll do it gradually since this will allow them to see if there are any leaks that could ruin everything.
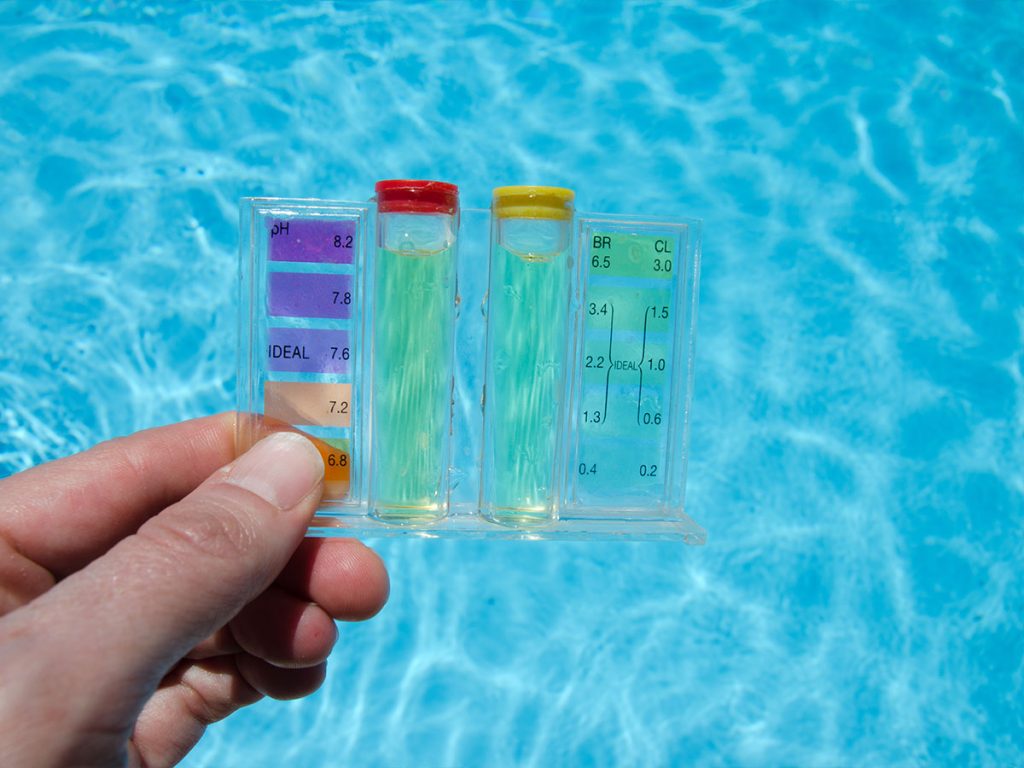
Step 09: Checking The Water Quality
Source: homezada.com
Before you even think about you and your family members jumping in the water, you must guarantee that you check the water quality. After all, there were various chemicals applied during the resurfacing, hence, to guarantee that it’s safe for swimming, purchase a water testing kit and test the water. If there are any chemicals or imbalances shown in the test, you shouldn’t enter the water, instead, move on to the last step.
Step 10: Curing The Water – If Required
If required you’ll have to cure the water. Now, you could do it by yourself, by there are several curing techniques experts could do, all of which will make the water safe for swimming. Keep in mind, the entire curing process will last for at least 7 days, and once the seven days pass, you’ll have to test the quality once again. Again, if you notice anything wrong with your pool, you should definitely ask for professional assistance since they’ll know exactly what needs to be done.
Conclusion
Although a lot of people think that they could resurface their pools on their own, this isn’t a suitable option, especially since they could end up damaging the surface, which is something that’ll result in some expensive repairs. Hence, it’s always better to opt for some professional help for this process.
So, now that you’re aware of the entire process, you shouldn’t lose any more of your time. Instead, if you have determined that you’ll need to resurface your pool, open up your browser and start searching for a professional and trustworthy organization that’ll provide you with high-quality services that suit your needs.


