Every pool owner knows that having a swimming pool in your home means much more than just relaxing in and next to it.
When you choose to install this unit in your house, you know that there are a lot of responsibilities that come with it. The unit needs to be regularly maintained and cleaned, and if you don’t do that, you risk the unit getting damaged much faster than normal. You need to invest in the right kinds of products, you need to make sure it is prepared for the winter, and you need to do the regular maintenance each week.
However, no matter how much attention you pay to it, and no matter how much money you invest in the right materials and the right cleaning products, everything has a limited lifespan. The swimming pools need to be resurfaced once every few years, up to a decade, depending on the materials you’ve used to build it.
When this time comes, you need to do all the right steps to make sure you get it done as fast as possible. In this 2024 guide, we are going to give you some tips on how to prepare your unit for resurfacing. Continue reading if you want to find out when is the right time to do this process, and how to make sure you are taking all the right steps.
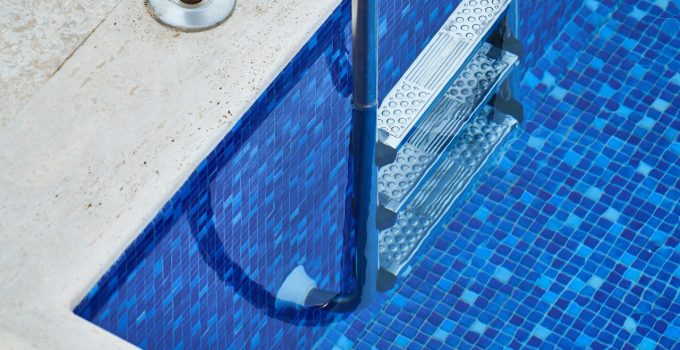
Signs your resurfacing is due
Source: woodfieldoutdoors.com
The biggest sign that shows it is time for you to replace the surface of the unit is that the plaster is peeling or flaking. If you notice that the plaster is far from its original condition, and if you notice residue in the water while you are swimming, you need to act as soon as possible. The longer you delay this process, the harder it is going to be for you.
Note that if you see any stains inside the unit, it may be a sign that it needs to be fixed. Sometimes the stains can easily be cleaned, so drain the water, use the right products, and see if you can get this done without having to call the professionals.
Another way to see that this process is due is to check the surface and its roughness. Depending on the material used, you should have a smooth surface without any lumps or bumps, so if you feel like it is too rough under your touch, it may be the right time to start this process.
You should also pay attention to the way your pool physically looks. If there are pebbles that are missing, if the color is off, or if there is any discoloration, and ultimately, if there are cracks on the bottom or on the sides, you definitely need to get it resurfaced.
The cracks can make the biggest problem, so you should never ignore them or postpone the process. If there are even the smallest cracks the water may start leaking, holes may start to appear, and the unit will not be safe for swimming. The racks on the bottom or the sides can do a lot of damage to your property, and instead of investing in just this unit, you risk spending tens of thousands of dollars on contaminating damage all over your property.
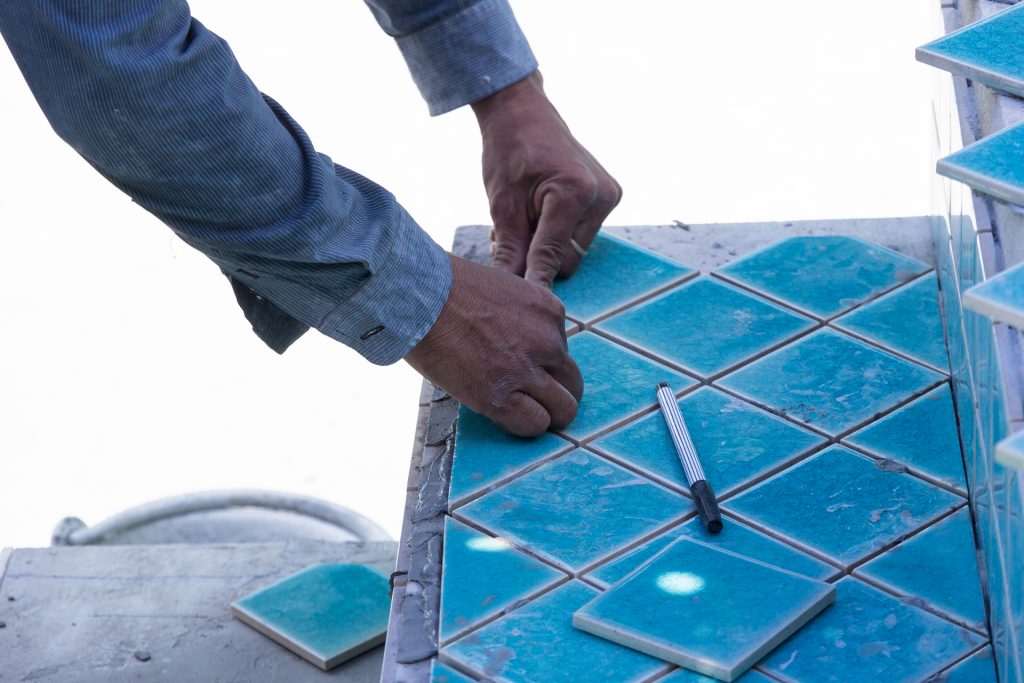
How to prepare

Source: thepoolgurus.com.au
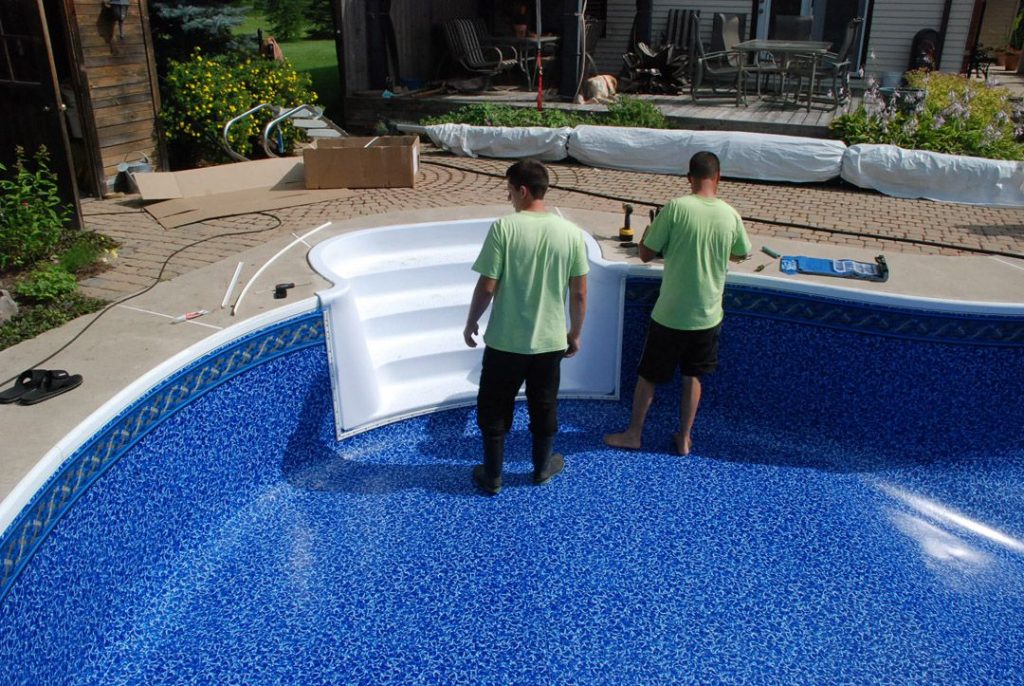
Now let’s talk about the preparation for the process, and what you need to do about it. Know that you can do this on your own, or you can just hire a professional service to help you out with it.
On websites like poolresurfacingdallastx.com, you can see that a professional service can not only help you out with the process, but they will also give you their honest opinion about the maintenance, costs, tips on how to prolong the life of the unit, and they will give you a recommendation for the right materials for the job.
No matter what you choose to do, the first thing you are going to need to do is to drain your swimming pool. This should be relatively easy to do, but you need to check where you are allowed to release the excess water. Depending on your location, there might be some strict rules and regulations, so you need to pay attention to them.
Next comes the cleaning process. For this, you will need to use the right type of products, and you will also need to get safety equipment. It is better to rely on professionals for this step, but ultimately, you can do it on your own.
After you are done with the cleaning, you will need to prep the surface. This is done by filling all the cracks and holes, and the whole process should not take more than 300 dollars. Use the right type of patching, and always do your research depending on the materials you’ve used.
Source: pinterest.com
You will need to prime and finish the surface for your next step, and you can find the right primer and finishing products in many different stores. Note that you will need to take it slow, and you will need to make sure you are using the right tools for this step. You don’t want there to be any lumps or bumps. Make sure the primer is dry before you add a layer of the finishing product.
When everything is completely dry, you can then just fill the water in again, and enjoy your unit. Note that the whole process will take up to 10 days because the surface needs at least a week to fully dry out.
Even though this may seem like something anyone could do, note that sometimes the DIY projects can take a lot of time and money. If you want to make sure everything is done properly, and if you don’t want to risk damaging your unit, it is better to rely on professional help. Overall, you should not have any issues doing this task, and most of the things you will need to do to prepare the unit for resurfacing require just your time and some labor. Choose the right materials, make sure you do this project on time, and know that you don’t have to do it alone.


