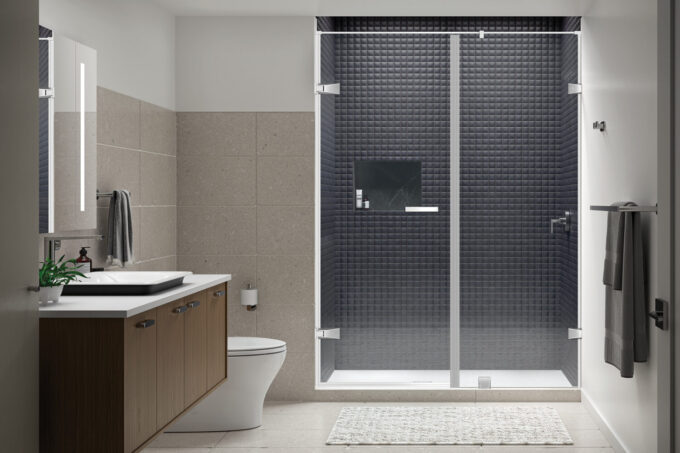
A morning routine for many is punctuated with a rejuvenating shower. It’s not just about personal hygiene; a well-functioning shower embodies luxury and comfort within a household. When this routine luxury is hampered by faulty mechanisms or wear and tear, it disrupts our day and can affect our mindset. Whether you’re a homeowner looking to increase property value or someone who loves a refreshing shower to kickstart the day, understanding the intricacies of shower replacement becomes paramount. This article offers a meticulously curated guide to help you replace a shower unit with precision. Strap in as we navigate this process together.
Assessing Your Shower Unit
Embarking on the journey of shower replacement starts with an astute assessment of your current unit. This assessment serves a dual purpose: understanding the life left in your existing unit and determining whether a full replacement or just a minor repair is needed. Common issues such as irregular water temperature, pesky leaks, frequent clogging, or overall wear and tear are glaring signs of a unit in decline.
In addition, visual cues like discolored tiles, persistent mold growth, or cracked fixtures can be indicative of an aging system. Addressing these problems might offer temporary solutions, but if they become habitual, it’s a resounding indicator that a new shower unit beckons.
Gathering Tools and Materials
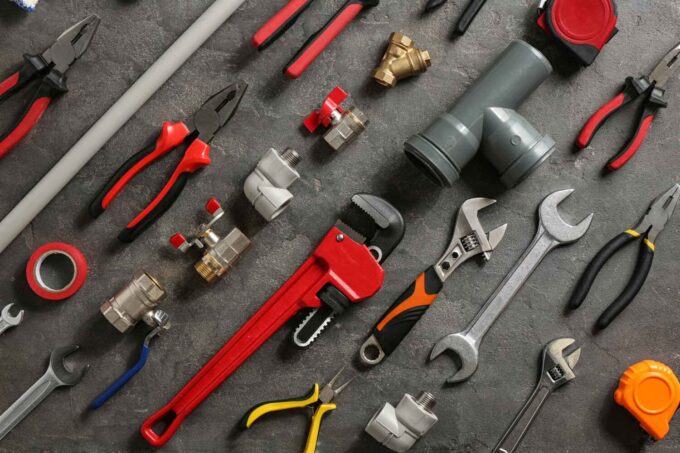
Source: grainger.com
A craftsman is only as good as his tools. When replacing a shower unit, the right set of tools can transform a daunting task into a manageable one. Here’s an expanded list to arm yourself for the job ahead:
Wrenches and Pliers: Vital for removing old fixtures and installing new ones.
Screwdrivers: A set with different sizes ensures you’re ready for any fixture or fastening.
Utility knife: Perfect for removing old caulk or trimming materials.
Caulk and Caulk Gun: Essential for sealing gaps and ensuring a waterproof finish.
Teflon Tape: For a leak-free connection in threaded plumbing joints.
New Shower Unit and Fixtures: Choose ones compatible with your bathroom’s dimensions and plumbing.
Tiling tools (if required): Trowels, tile spacers, and tile cutters for those aiming for a complete overhaul.
Organizing these tools and materials before diving into the task not only speeds up the process but also ensures that no crucial step is skipped because of missing equipment. If you’re not for any DIY action try prefabricated shower units for a change.
Preparing the Work Area
The bathroom, for this task, becomes a workshop, demanding clarity and safety. First and foremost, declutter the space. Remove all bath products, mats, towels, and any other items. Protecting your flooring is crucial, so lay down a protective cloth or tarp to catch any debris and prevent potential damage. Proper ventilation can’t be emphasized enough; therefore, keep the bathroom door open or turn on an exhaust fan.
Working in a well-ventilated space reduces the risk of inhaling harmful particles. Additionally, to ensure everyone’s safety, especially if you live with family, it’s wise to inform them of the ongoing project, keeping children and pets away from the work zone.
Turning Off Water Supply
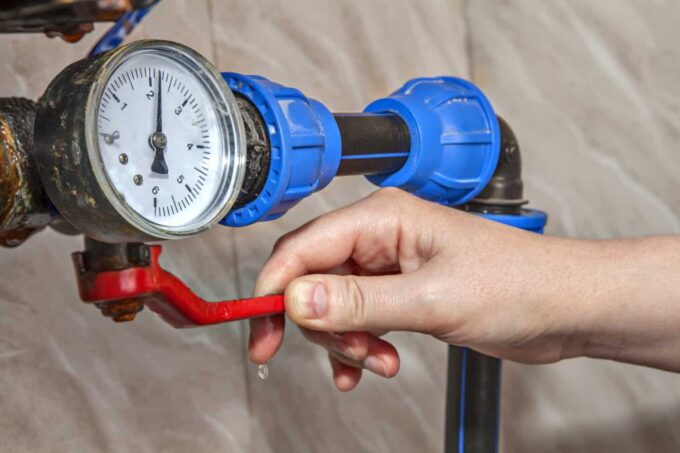
Source: pinnaclerestorationnw.com
Engaging with plumbing tasks requires the utmost caution, and the preliminary step in this cautionary tale is turning off the water supply. This might sound rudimentary to some, but it’s where many go wrong, resulting in potential water messes or even injuries.
The main water valve is usually located in basements, utility closets, or outside the house. Turn it clockwise to ensure a complete shut-off. However, some bathrooms are equipped with dedicated shut-off valves; if that’s the case, make use of them. Before proceeding, double-check the shut-off’s effectiveness. Open the bathroom taps; if no water flows out, you’re in the clear. This water-free working environment is not only safe but also prevents unnecessary wastage.
Removing the Old Shower Unit
As nostalgic as it might be, parting with your old shower unit is a necessary rite of passage in the replacement journey. Start by methodically removing the showerhead and handles. Using wrenches or pliers, unscrew these parts and store them separately; they might be reused or recycled. For those with a bathtub combo, don’t forget the spout. Now, depending on your bathroom’s design, tiles or panels around the shower may need to be removed. Handle them with care, especially if you plan to reuse or recycle. This stage might seem tedious, but patience here ensures a smoother installation of the new unit.
Plumbing Considerations
The plumbing maze behind the walls is the lifeblood of your shower. Before fitting a new shower unit, one must comprehend the existing plumbing setup to ensure compatibility. Modern shower units often come equipped with advanced features, and some might require specific water pressures or unique connections. Familiarize yourself with the specifications of the new unit. This might involve consulting manuals or speaking to experts. If discrepancies arise, you might need to make some adjustments or upgrades to your plumbing system. It’s an additional step, but it ensures your new shower runs efficiently and problem-free.
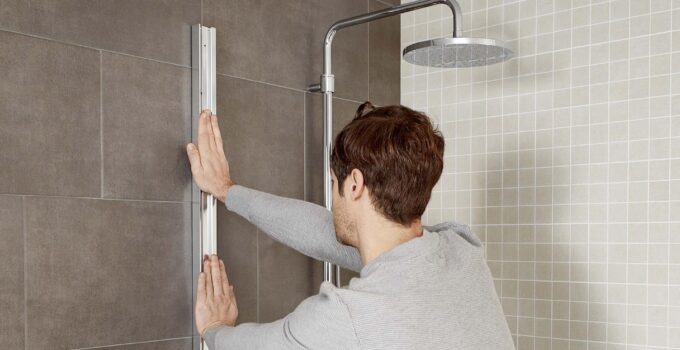
Installing the New Shower Unit
Source: kohler.co.in
The zenith of this project is installing the new shower. Begin with the base or pan, ensuring it’s perfectly level. Uneven installations can lead to water pooling or inefficient drainage. Follow the manufacturer’s guidelines to the letter. These instructions are crafted from expertise, ensuring the longevity and efficiency of the unit. For walls, panels, or tiles, ensure they fit snugly and are secured firmly. Shower doors or curtains come next, depending on your chosen design.
While DIY enthusiasts might manage this on their own, don’t hesitate to seek assistance. An extra pair of hands can prove invaluable, especially with weighty or intricate parts.
Testing for Leaks and Functionality
After installing your new shower unit, it’s crucial to check for any leaks. Turn on the water supply and monitor the connections. A minor drip might seem insignificant, but over time, even a small leak can lead to significant water damage or increased bills. Additionally, test the functionality of the shower, ensuring all knobs, diverters, and showerheads operate smoothly. This is the moment to identify any issues before they become bigger problems.
Conclusion and Time Estimate
Replacing a shower unit is a detailed process, but with the right tools and preparation, it’s entirely manageable. On average, for those familiar with basic plumbing and DIY tasks, this process can take anywhere from 4 to 8 hours. For novices or if unexpected issues arise, it might extend to a full day or even require a professional’s assistance. Remember, the key is ensuring a safe, functional, and aesthetically pleasing result. The time invested will pay off with years of satisfactory use.


